
Now live · Free to play
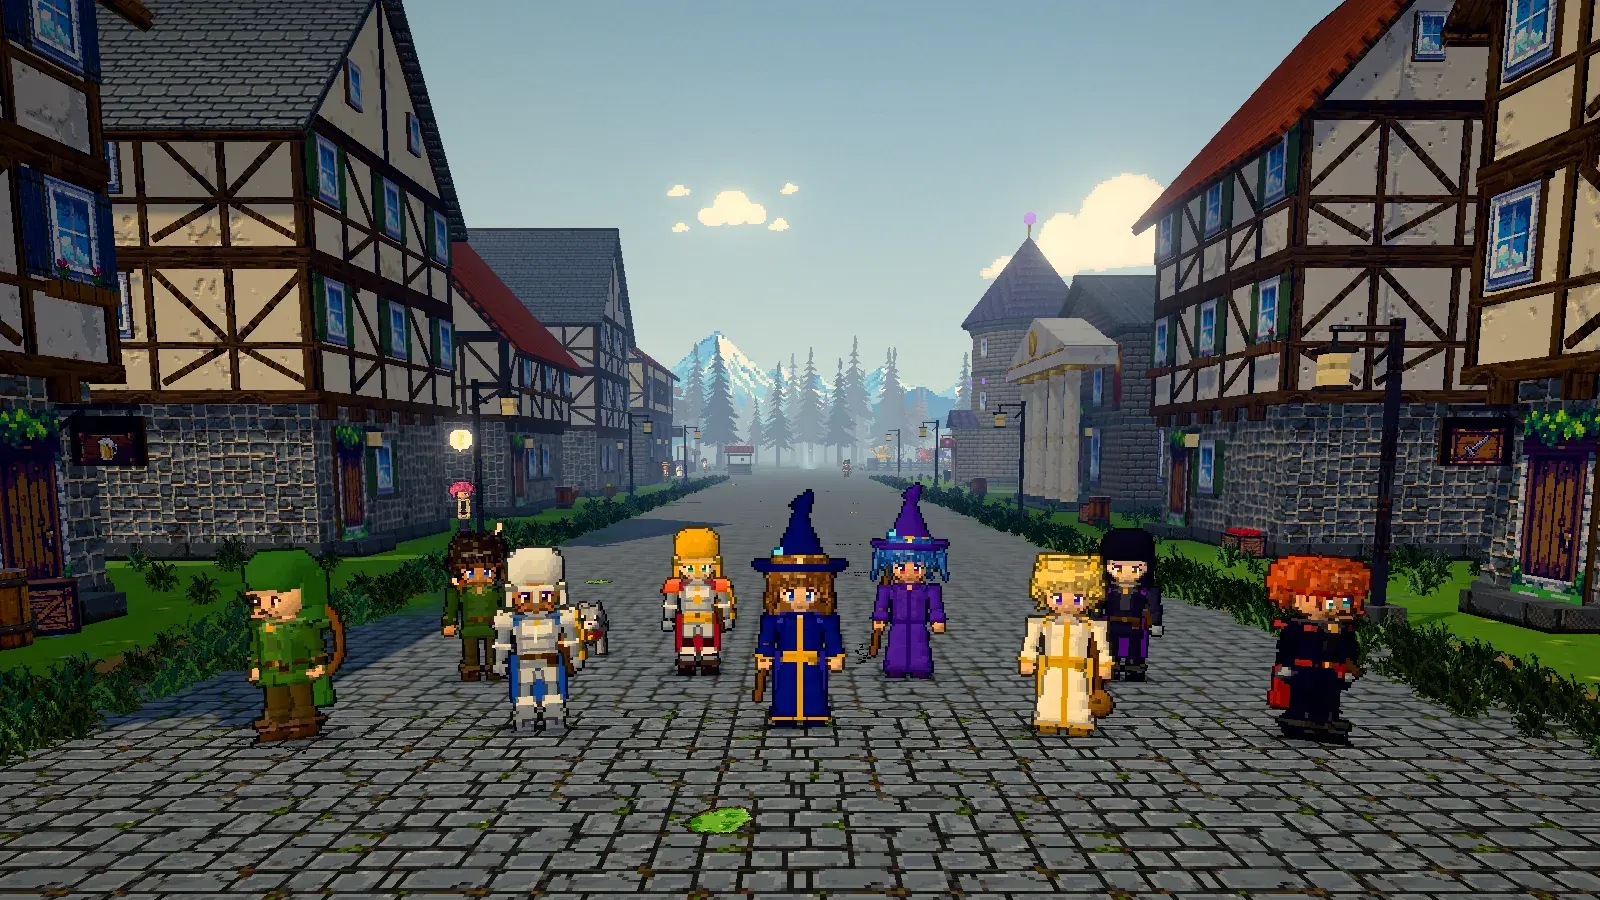
Adventure in a pixel world, together
An MMORPG in your browser. Pick a job, hunt monsters, party up for dungeons, take down world bosses with the whole server, or just fish and farm at your own pace. Play right away on computer or phone.
Nothing to download · Plays in your browser · Thai, English & Japanese
- jobs
- 34
- jobs
- maps
- 108
- maps
- world bosses
- 18
- world bosses
- party dungeons
- 16
- party dungeons
- max level
- Lv.200
- max level
What's in it
One world, many ways to play
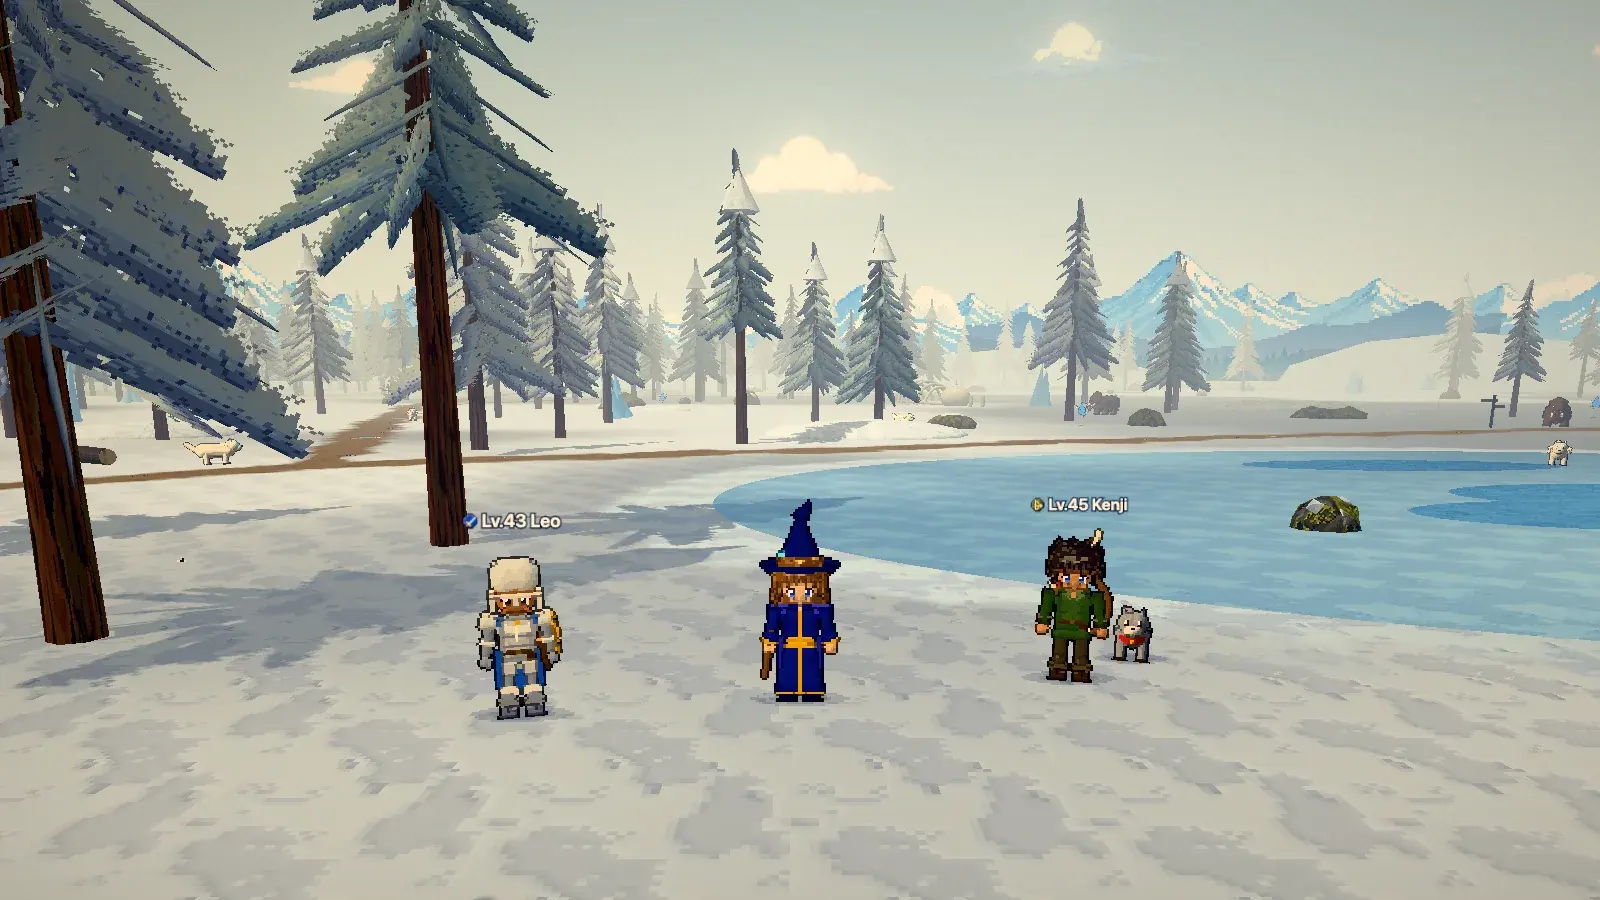
A big world to explore
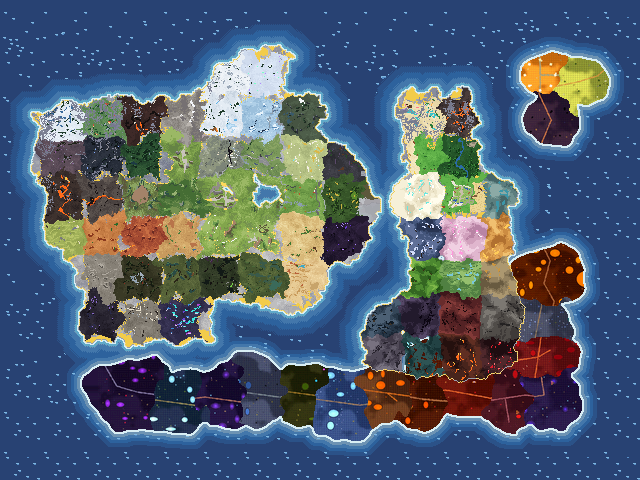
108 maps, from meadows and deep woods to snowy peaks, deserts, swamps and a tropical island — each with its own monsters, boss and music.
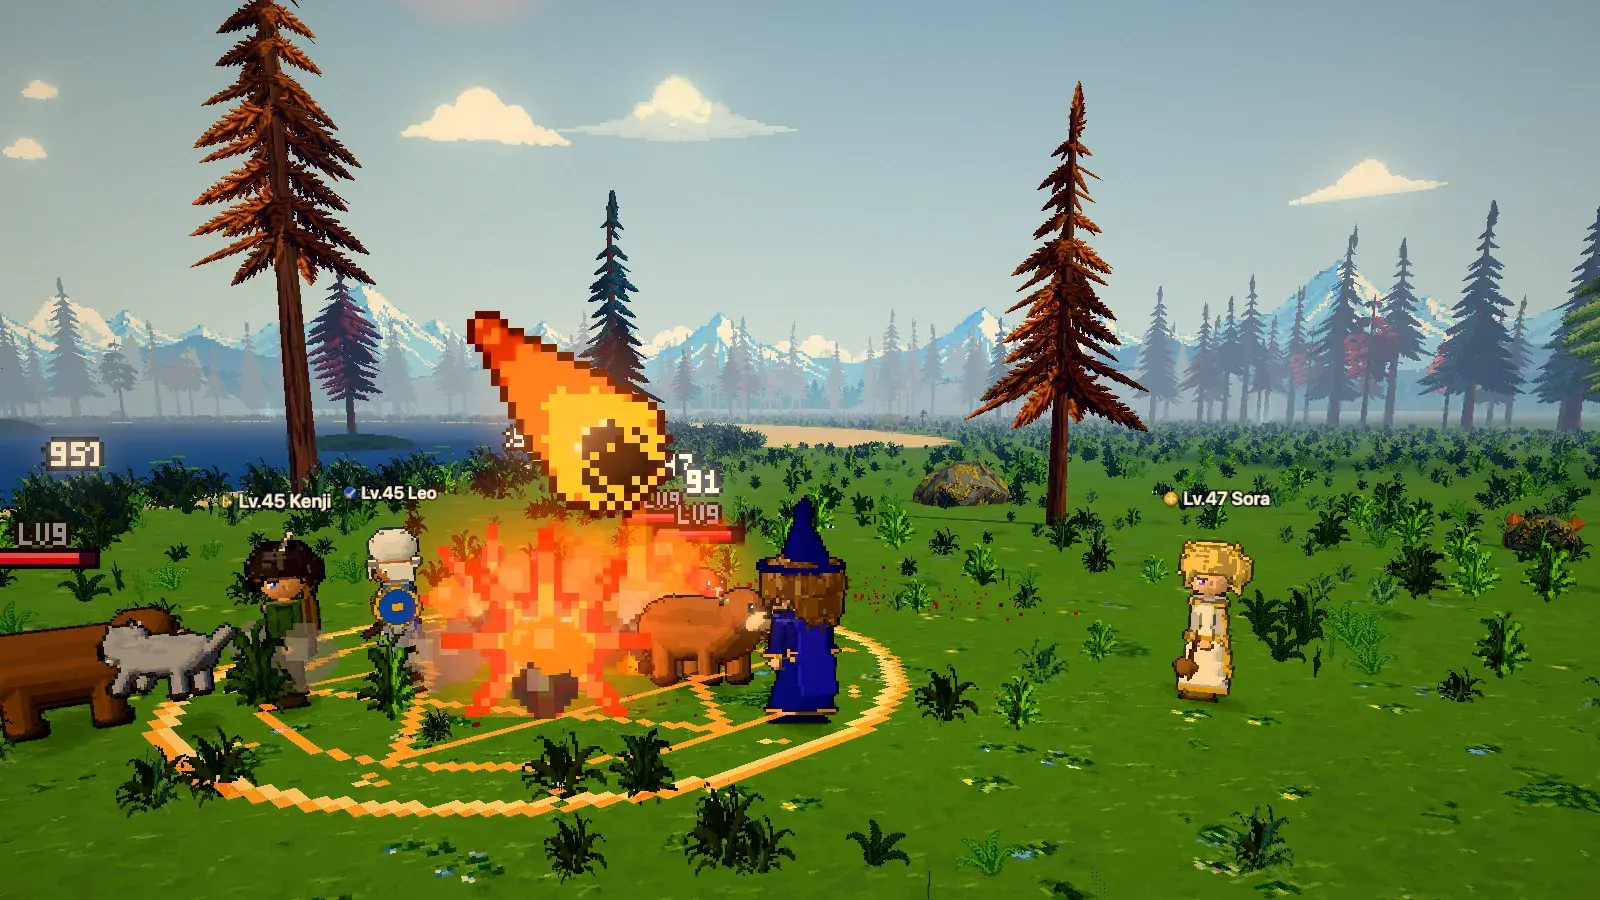
34 jobs in five tiers
Start as a Novice, take your first job at Lv.10, then advance at Lv.25, Lv.70 and Lv.120 to a second, third and fourth job, and awaken to a fifth at Lv.160. Every job has its own weapon, skills and three outfits.
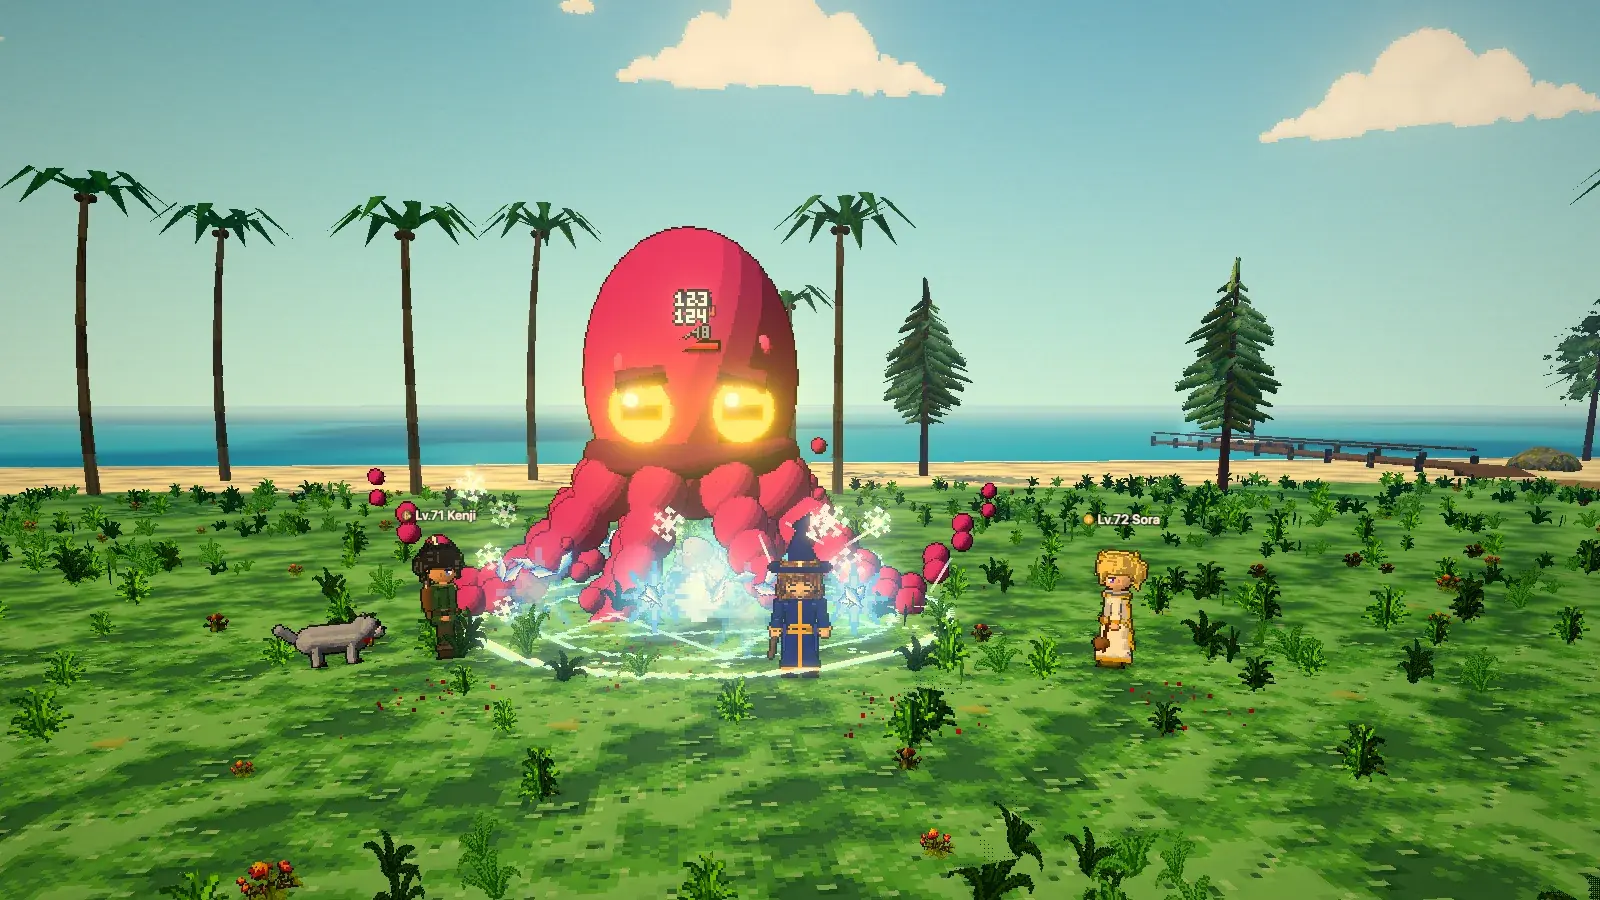
World bosses & dungeons
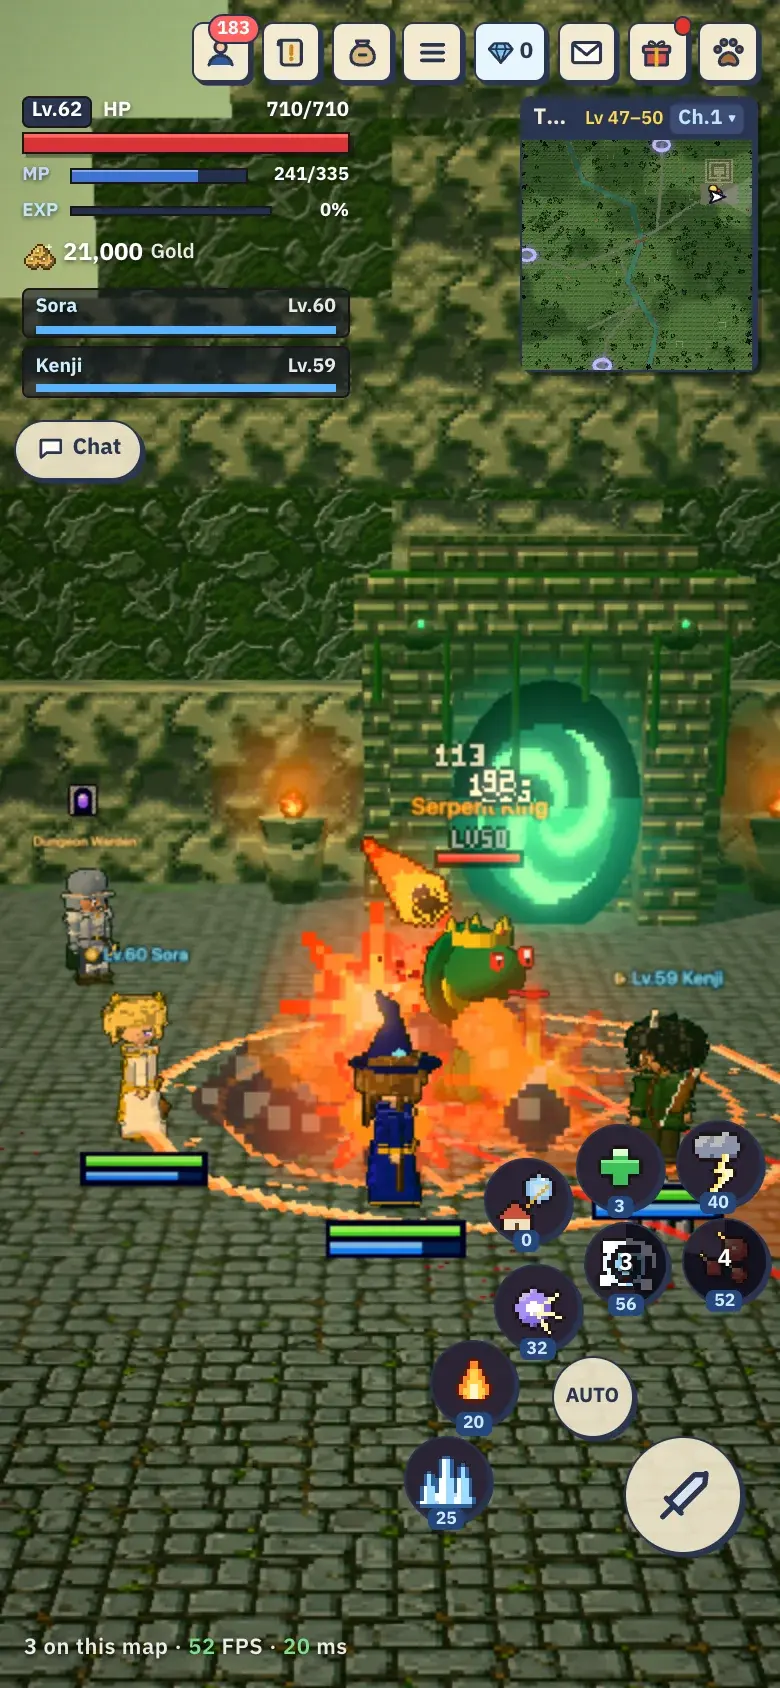
A world boss appears every hour and a half, low and high tiers taking turns, for the whole server to fight. Party dungeons throw waves of monsters at you, then a boss — and a treasure chest once a day.
Life beyond the fight
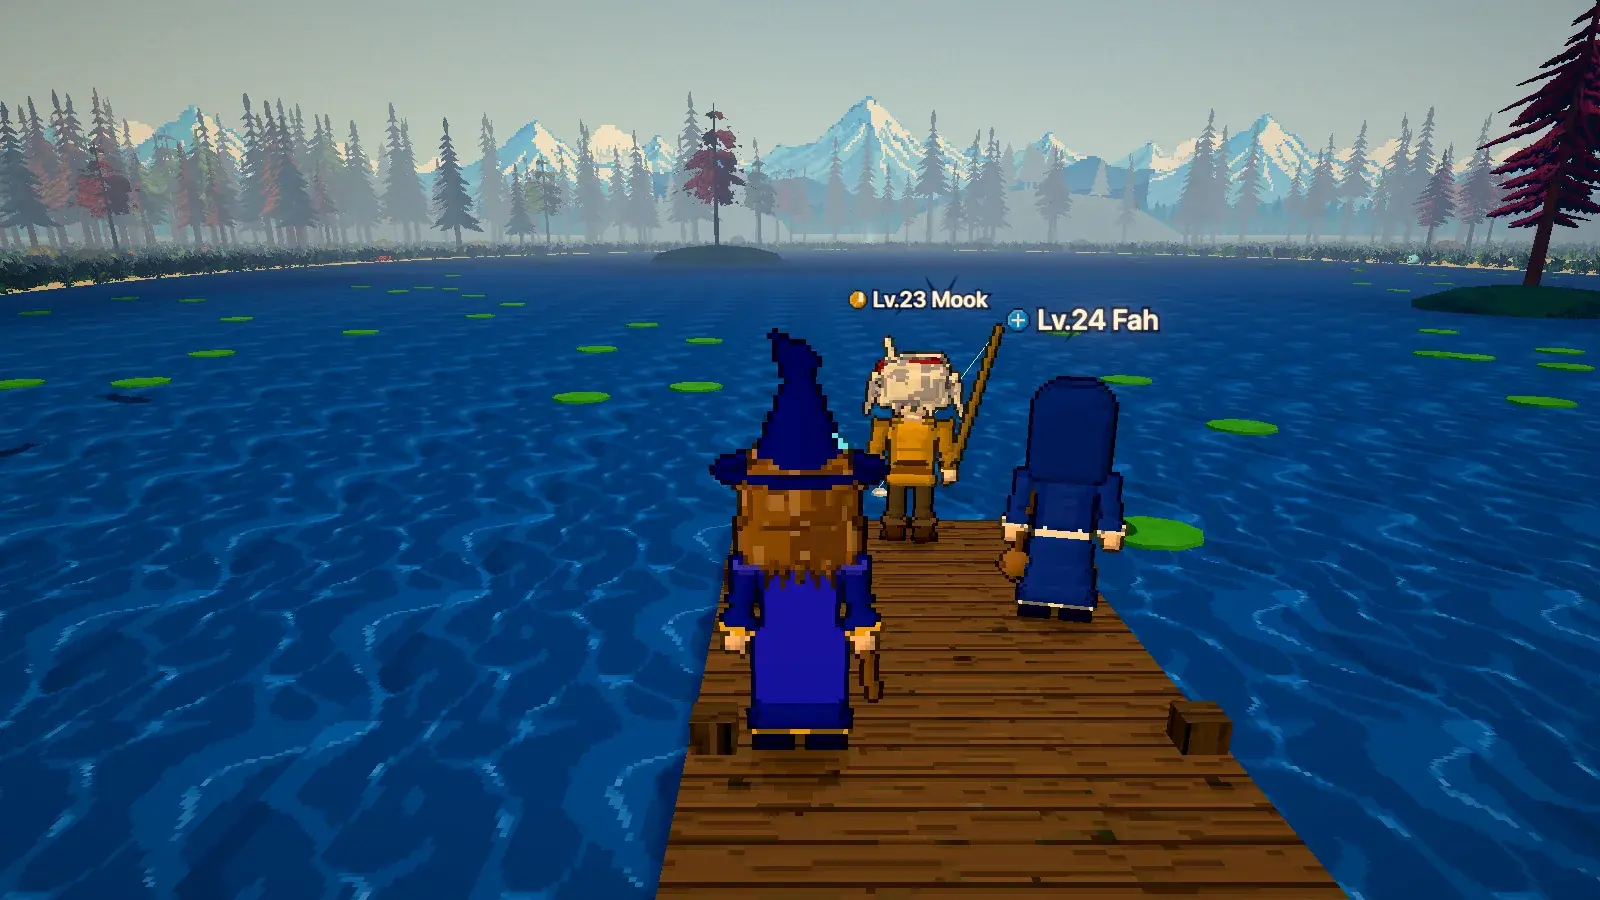
Fish, mine, farm, and cook food that makes you stronger. Refine your gear, or bring boss materials to the blacksmith to forge something new.
Play with friends
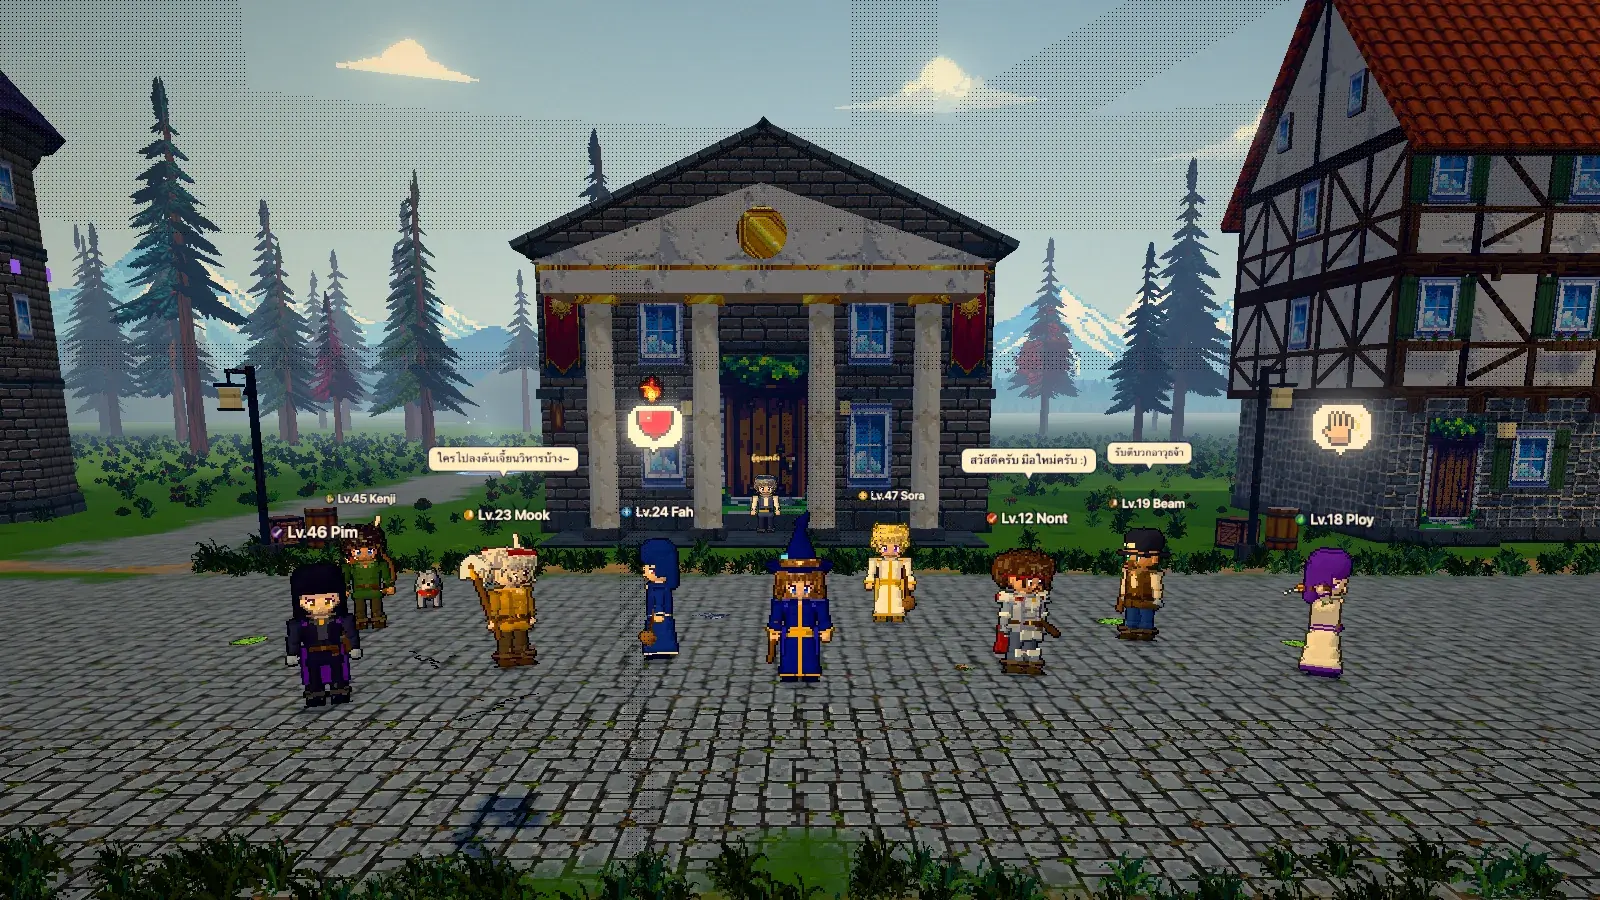
Parties of up to 6, guilds, map and world chat, and duels in the arena in the middle of town.
Play anywhere
Works on computer and phone with full touch controls, and auto-hunting for when you want to rest your hands.
Jobs
Choose your path
Everyone starts as a Novice. At Lv.10, visit the job master in Aurum to pick your first job; then advance to a second job at Lv.25, a third at Lv.70, a fourth at Lv.120 and awaken to a fifth at Lv.160, keeping every skill from the tiers before.

Swordsman
SwordSTR · VIT

Knight
SwordSTR · VIT
3 outfits

Runeblade
SwordSTR · VIT
3 outfits

Dragon Knight
SwordSTR · VIT
3 outfits

Dragonlord
SwordSTR · VIT
3 outfits

Archer
BowAGI

Hunter
BowAGI
3 outfits

Ranger
BowAGI
3 outfits

Galewing
BowAGI
3 outfits

Skyhunter
BowAGI
3 outfits

Mage
StaffINT

Wizard
StaffINT
3 outfits

Warlock
StaffINT
3 outfits

Archmage
StaffINT
3 outfits

Astral Sage
StaffINT
3 outfits

Acolyte
MaceINT · VIT

Priest
MaceINT · VIT
3 outfits

Oracle
MaceINT · VIT
3 outfits

Cardinal
MaceINT · VIT
3 outfits

Seraphim
MaceINT · VIT
3 outfits

Thief
DaggerAGI · STR

Ninja
DaggerAGI · STR
3 outfits

Mistblade
DaggerAGI · STR
3 outfits

Phantom
DaggerAGI · STR
3 outfits

Nightreaver
DaggerAGI · STR
3 outfits

Merchant
AxeSTR · VIT

Blacksmith
AxeSTR
3 outfits

Alchemist
AxeINT · STR
3 outfits

Mechanic
AxeSTR · VIT
3 outfits

Chemancer
AxeINT · STR
3 outfits

Ironmaster
AxeSTR · VIT
3 outfits

Lifeweaver
AxeINT · STR
3 outfits

Forgelord
AxeSTR · VIT
3 outfits

Genesis
AxeINT · STR
3 outfits
World
From the capital to lands no one has mapped
Start in Aurum and head further out one map at a time. The further you go, the tougher the monsters and the better the drops — some places are across a bridge, one is a boat ride away.
Towns
- Aurum
- Highwick
- Wick Village
- Delta Port
- Mesa Fort
- Spirit Village
- Sky Haven
- Crown Harbour
- Duskhold
- Mistvale
- Dawnfort
- Lastlight
Hunting grounds · 96
Starting landsLv.1–3813 areas
- Bull Plains ILv.1–5
- Bull Plains IILv.5–10
- Pip LakeshoreLv.8–13
- Golden ShoreLv.10–15
- BearwoodLv.12–17
- Whale CliffsLv.14–20
- Goblin CampLv.16–22
- Deep BearwoodLv.18–24
- Old Mine B1Lv.20–26
- Candle PassLv.22–28
- Old Mine B2Lv.24–30
- Dry HillsLv.26–30
- Crystal Heart B3Lv.28–38
Middle landsLv.30–20019 areas
- Red CanyonLv.30–34
- ColosseumLv.30–200
- Battle IsleLv.30–200
- War CanyonLv.30–200
- Ash FieldsLv.34–40
- Frost FieldLv.40–44
- The MarshLv.42–47
- The GlacierLv.43–48
- Coral IsleLv.44–48
- Black BogLv.45–49
- The JungleLv.47–50
- Wreck ReefLv.50–53
- Mangrove DeltaLv.51–54
- Ember IsleLv.52–55
- Sunscorch DunesLv.53–56
- Glowcap HollowLv.55–58
- Ember Depths 1FLv.55–58
- Bone WastesLv.57–61
- Ember Depths 2FLv.58–61
Far landsLv.60–10028 areas
- Obsidian CoastLv.60–63
- ThornwoodLv.61–64
- Ember Depths 3FLv.61–66
- Petrified ForestLv.63–66
- Sand Pyramid 1FLv.64–67
- Red MesaLv.65–68
- Storm SteppeLv.67–70
- Sand Pyramid 2FLv.67–70
- Cinder RiftLv.69–72
- Sand Pyramid 3FLv.70–76
- Withered MoorLv.72–75
- Haunted ValeLv.74–77
- Haunted Abbey 1FLv.75–78
- Frozen FjordLv.76–79
- Spirit PeaksLv.78–81
- Haunted Abbey 2FLv.78–81
- Dragon's SpineLv.80–83
- Haunted Abbey 3FLv.81–86
- Skyreach SummitLv.82–85
- Aurora HeightsLv.84–87
- Storm CapeLv.86–89
- Sky RuinsLv.88–91
- Star Tower 1FLv.88–91
- Kraken CoastLv.90–93
- Star Tower 2FLv.92–95
- Elder GroveLv.92–96
- The AbyssLv.95–100
- Star Tower 3FLv.96–100
World's edgeLv.100–20036 areas
- Glimmer ShoalsLv.100–103
- Moonpetal MeadowLv.102–105
- Prism CanyonLv.104–107
- Titans' GardenLv.106–109
- Cloudfall TerracesLv.109–112
- Amber WastesLv.112–115
- Sunken CityLv.115–118
- Clockwork RuinsLv.118–122
- Sunken Palace 1FLv.120–121
- Sunken Palace 2FLv.121–123
- Sunken Palace 3FLv.123–125
- Ashen GateLv.124–128
- Bloodmoon MoorLv.127–131
- Chasm of EchoesLv.130–134
- Rime HellLv.133–137
- Fallen KingdomLv.136–140
- SoulwoodLv.139–143
- Inferno PlateauLv.142–146
- Demon's ThroneLv.145–150
- Demon Citadel 1FLv.146–147
- Demon Citadel 2FLv.147–149
- Demon Citadel 3FLv.149–150
- Blood FenLv.150–153
- BonewoodLv.153–156
- Cinder SeaLv.156–160
- Shadow HollowLv.159–163
- Chain BastionLv.162–166
- Hellthorn FieldLv.165–169
- Throne ApproachLv.169–175
- AshfallLv.175–178
- MirrormereLv.178–181
- RotgardenLv.181–184
- StormspireLv.184–187
- VoidshoreLv.187–191
- StarscarLv.190–194
- World's EndLv.194–200
Bosses
Bosses waiting for a challenger
World bosses
Thai time (UTC+7): bosses under Lv.100 come at 00:00 · 03:00 · 06:00 · 09:00 · 12:00 · 15:00 · 18:00 · 21:00; Lv.100 and up at 01:30 · 04:30 · 07:30 · 10:30 · 13:30 · 16:30 · 19:30 · 22:30. Each stays 30 minutes. Everyone who helps gets a reward.

Raging Bull
Bull Plains II · Lv.15

Black Swan
Pip Lakeshore · Lv.19

Ancient Treant
Bearwood · Lv.23

Golden Dragon
Goblin Camp · Lv.28

Phoenix
Ash Fields · Lv.36

Kraken
Coral Isle · Lv.48

Sun Phoenix
Sunscorch Dunes · Lv.56

Briar Wyrm
Thornwood · Lv.64

Storm Behemoth
Storm Steppe · Lv.70

Wraith Swan
Haunted Vale · Lv.78

Rime Dragon
Frozen Fjord · Lv.86

Tide Queen
Kraken Coast · Lv.96

Island Turtle
Glimmer Shoals · Lv.106

Moon Titan
Moonpetal Meadow · Lv.116

Bone Colossus
Ashen Gate · Lv.128

Bloodmoon Wyrm
Bloodmoon Moor · Lv.141

Fallen Seraph
Demon's Throne · Lv.150

Doom Titan
War Canyon · Lv.200
Party dungeons
Go alone or with a party of up to 6. Clear it within 60 minutes; the chest opens once a day.

Sunken Grotto
Lv.10–16
Hydra · Pip Lakeshore

Goblin Warren
Lv.18–26
Goblin King · Goblin Camp

Wick Crypt
Lv.28–40
Lich · Wick Village

Sunken Temple
Lv.44–50
Temple Naga · The Jungle

Drowned Galleon
Lv.54–62
Drowned Admiral · Wreck Reef

Thorn Hive
Lv.64–72
Hive Queen · Thornwood

Cinder Forge
Lv.76–84
Ironclad Colossus · Cinder Rift

Star Sanctum
Lv.88–98
Heart Seraph · Sky Ruins

Prism Hall
Lv.102–110
Prism Sovereign · Prism Canyon

Gear Vault
Lv.114–122
Clockwork King · Clockwork Ruins

Blood Cathedral
Lv.126–136
Vampire Lord · Bloodmoon Moor

Void Rift
Lv.140–150
Void Sovereign · Chasm of Echoes

Blood Abyss
Lv.155–168
Blood Sovereign · Shadow Hollow

Archfiend's Citadel
Lv.166–175
Infernal Regent · Throne Approach

Titan's Pit
Lv.165–175
Abyssal Titan · Chain Bastion

Eclipse Altar
Lv.170–175
Eclipse Colossus · Hellthorn Field
Getting started
Playing in a few minutes
Sign up or sign in
Press Play and sign in with your account. Nothing to install.
Make your character
Pick body, skin, hair, eyes and starting clothes. You can change them later at the stylist in town.
Follow the guide
The guide on Aurum's square teaches you to move, fight and shop, all the way to choosing your first job.
FAQ
Questions, answered
Is it free?
Yes, it's free to play — but there's a gem shop that sells looks, such as fashion outfits, name colours and mounts. They don't change your stats: gear, levels and everything that makes you stronger come from playing.
Can I play on my phone?
Yes. Open it in your phone's browser and the game shows a joystick and touch buttons automatically.
Do I need to download anything?
No. The whole game runs in your browser — just sign in and play.
Will I lose my character if I switch devices?
No. Your character, bag and progress are saved with your account on the server. Sign in anywhere and carry on.
Can I trade with other players?
Yes, through the market hall in Aurum: list materials, potions, food, seeds — or weapons and armour, refine level and all — and other players can buy them even while you're offline (the market takes 5%). There's no direct trade window.
What should I do first?
Follow the story quests with the guide — you'll get EXP, items and a tour of every system. If you get stuck, the guide has the answers.
